1. Check the fit before changing the hairstyle
A wig can look convincing in one photograph and feel unfamiliar when you see it on yourself. Instead of deciding that the whole wig looks wrong, describe the specific detail: a front edge sitting too low, a bulky crown, a part you dislike, bright reflections, or ends that clump together. Each observation leads to a different next step.
If the cap sits unevenly, reset it gently before reaching for styling products. Arrange your own hair flat enough for your intended routine, then position the wig according to its instructions. Check the front, the area around both ears and the nape. Do not pull on the hair or stretch the lace to force the cap into place.
For sizing, use a flexible tape with your hair prepared as you will wear it underneath. Measure around the head, keeping the tape comfortably snug, and repeat the measurement. Compare the result with the exact cap specifications. A label such as Standard or Average is not a substitute for a measurement; lace dimensions describe coverage rather than head circumference.
Notice how it feels when you turn your head gently. Pressure, shifting or uneven seating are reasons to pause and ask about the selected cap. Adjust only fittings that actually exist on your wig, within the manufacturer's instructions. If the item is new and you are unsure about keeping it, review the return conditions before cutting lace, washing or changing the cap.
Further guidance: Headcovers: Wig Size Guide

2. Look at the hairline and part from more than one angle
Begin with a clean mirror, comfortable lighting and your usual outfit. Keep your own hair arranged consistently underneath. Take one front photograph and one three-quarter photograph at eye level, without a beauty filter. These are useful personal references for a later adjustment, rather than a test of how every person will perceive you.
Look straight ahead, then turn slightly to each side. Check whether the front position suits you and whether the part sits where you expect. Use the mirror to identify what bothers you, but avoid judging everything from a highly magnified close-up. The everyday view matters too.
Construction affects what you can change. Lace fronts concern the front hairline; monofilament areas concern the appearance of the part or scalp beneath the hair. These features are not interchangeable, and neither label alone tells you the fibre. A stated lace area also does not establish that the entire cap is hand-tied.
Follow the permitted parting range for your cap. If a small repositioning improves the look, compare it with your first photographs. If the issue remains, ask for advice that identifies the style and construction. Do not start by cutting, plucking or applying makeup to an unfamiliar lace area: those changes can be difficult to undo.
Choosing a center or side part? Check the selected option’s permitted area and method before ordering. The parting guide linked below separates a lace-front description from an actual parting range and gives you a specific question to ask about the cap.
Further guidance: Headcovers: Types of Wigs · EVUNIA: Can You Change the Part on a Wig?

3. Compare colour and shine in ordinary light
Try the same position near a window without direct sun, then in the indoor light you use most often. Keep the camera angle and distance similar. If the colour or brightness changes mainly with the lighting, note that before adding anything to the hair. A reflection in one photograph is not enough to judge the wig's appearance in every setting.
Look at the roots, mid-lengths and ends separately. Shade names and colour codes differ between brands, so read the selected option and request clarification when colour is important. A model image, including our illustrations, can help you explore a look but cannot confirm an exact physical colour on your screen.
Root contrast, highlights and texture are style choices. There is no single shade that everyone must wear to look natural. Choose the effect you want, then check how the actual option is described. For unwanted shine, use only care methods approved for that fibre; do not assume household powder or a styling spray is suitable.
Further guidance: Headcovers: Selecting Hair Color

4. Check the ends before combing through the whole length
When ends gather into a clump, first inspect a small section. For a wig whose instructions allow detangling, use the recommended tool and begin at the tips, supporting the section above the knot. Work upward gradually. Dragging a comb from the roots through a knot adds pulling without first resolving the snag.
Keep the intended texture in mind. Some curls and set styles need a different approach from straight fibres. Stop if the tool catches repeatedly, and check the care guide rather than brushing harder. If washing is needed, use the wig's specified products and drying method; repeated styling product alone may not resolve the problem.
After permitted care, place the ends naturally over your shoulders and look again. Compare the same angle with the earlier reference. If the fibre remains rough or damaged, seek product-specific advice before adding heat or cutting. A care routine cannot guarantee that permanently damaged fibres will return to their original condition.
Further guidance: Envy: Synthetic Wig Care
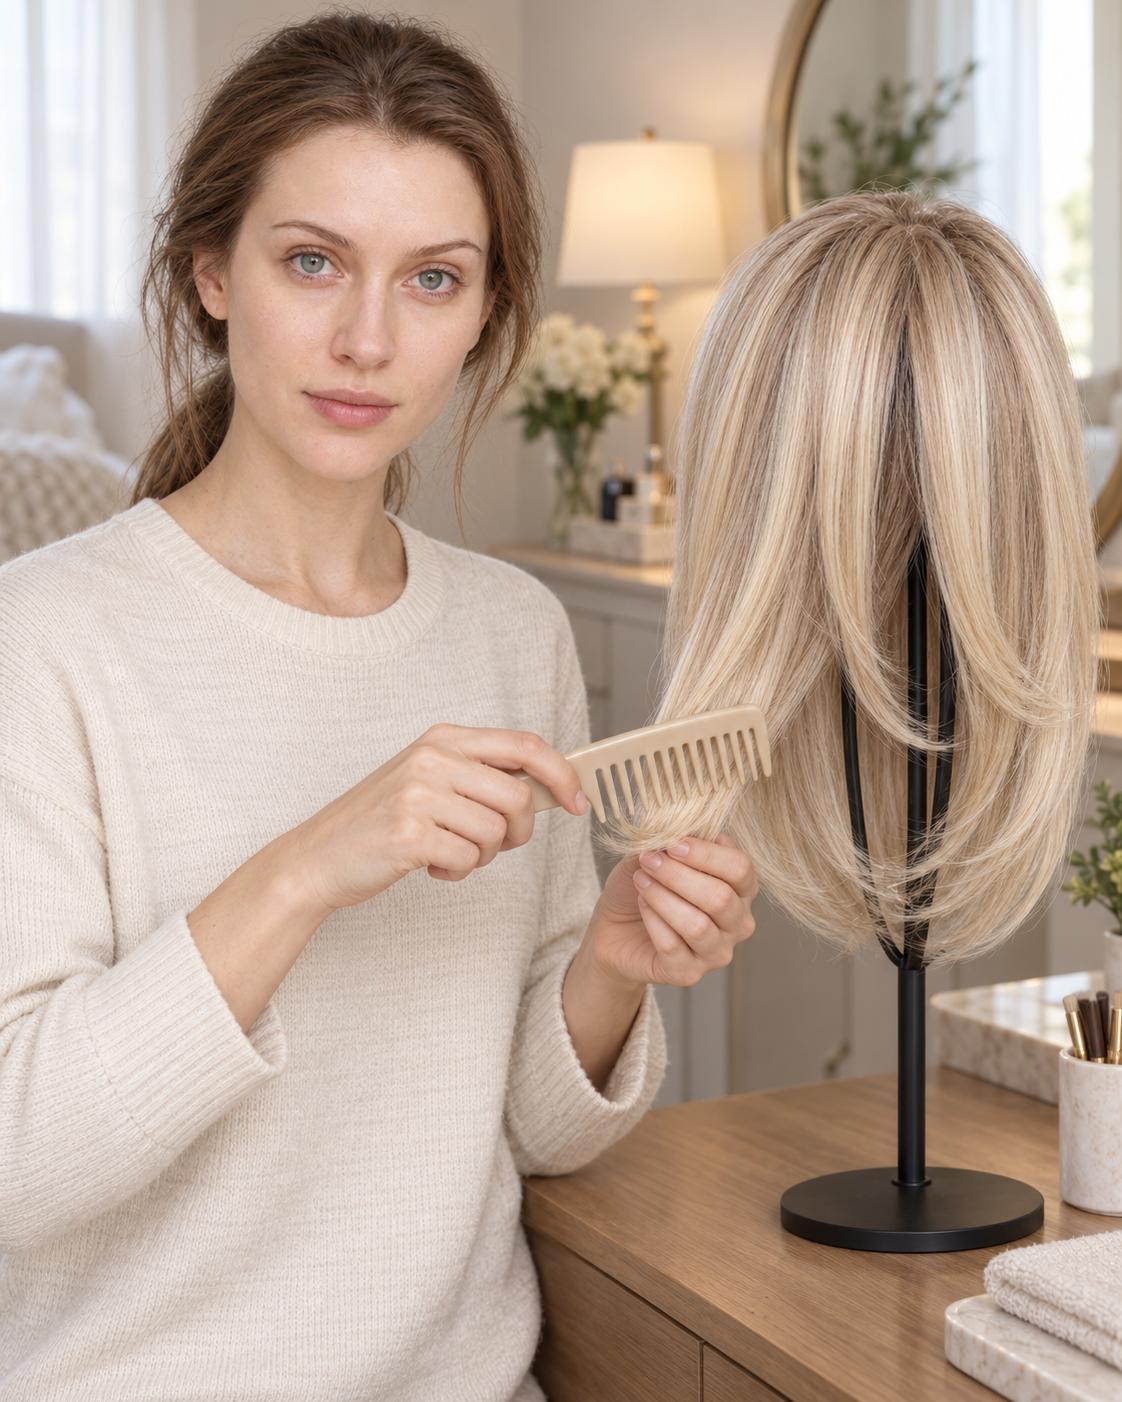
5. Protect the shape between wears
Let the wig dry according to its instructions before storage. For a suitable short-term stand, check that the lengths hang freely and the ends are not pressed against the table. Choose a clean, cool location away from direct sun and heat. Use the recommended packaging or storage method when you will not wear it for a longer period.
Further guidance: Simply Wigs: How to Store Wigs
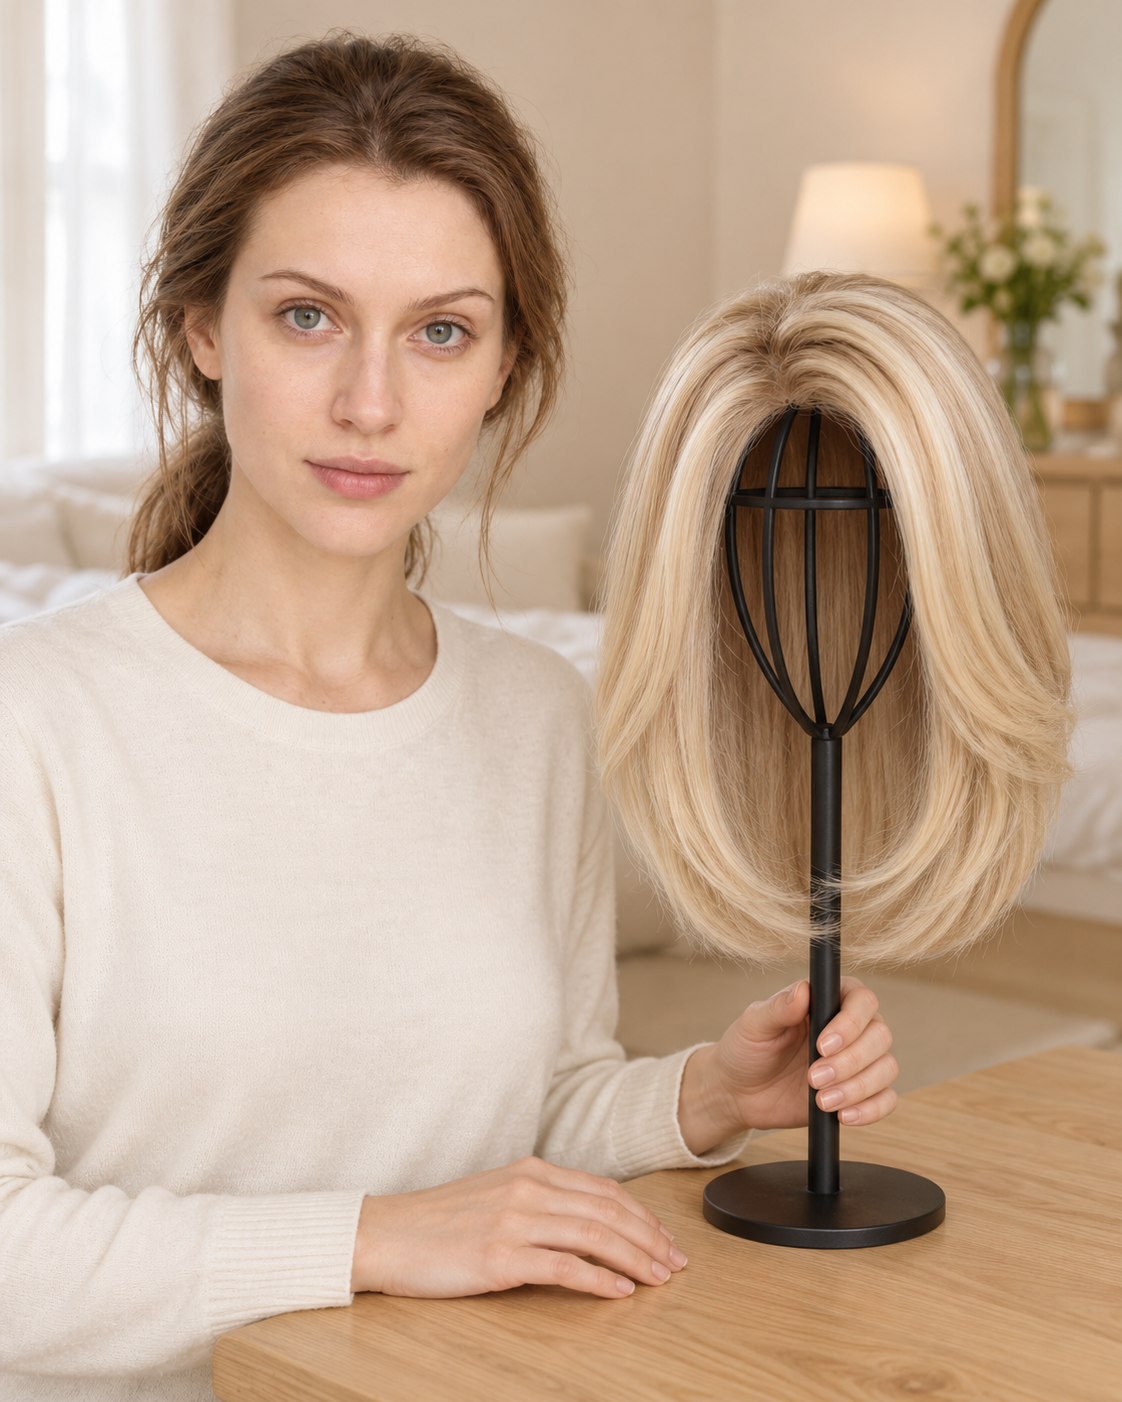
6. Check the fibre before using heat
Before using a dryer, straightener or curling tool, identify the exact fibre and its permitted method and temperature. Synthetic does not automatically mean heat-friendly, and heat-friendly does not mean every setting is acceptable. Keep tools away until that information is confirmed. The tool shown here is unplugged; the image is not a heat-resistance demonstration.
Separate styling preference from a fit or construction issue. You might simply prefer a softer fringe or a different length. A new cut will not necessarily solve a cap that shifts, and tightening straps will not change the fibre. This distinction can save you from altering the wrong thing.
If ordinary fit and care checks do not resolve the issue, photograph the specific area and ask about that product. Describe what you noticed and what you have already tried. That gives the person helping you a clearer starting point than saying only that the wig looks fake.
Further guidance: Envy: Synthetic Wig Care

Your practical check before the next wear
- I can describe the specific detail I want to improve.
- The cap position and measurements have been checked without forcing the lace.
- I have compared the hairline, part and colour from everyday angles and lighting.
- My detangling, drying and storage methods follow this wig's instructions.
- I have confirmed the exact fibre and heat guidance before using a styling tool.
- I have made one change at a time and kept useful comparison photographs.
Ready to explore your next look? Visit EVUNIA's homepage to browse the current styles. Read the selected option's specifications and care instructions before choosing.
Explore EVUNIA's homepage →Prepared by EVUNIA. General guidance is supported by the sources linked beside the relevant sections; follow your selected wig’s own instructions. All six photographs are illustrations using our own model. They do not establish exact product colour, physical fit, lace construction or heat resistance. Fit guidance: Find Your Fit. Ordering conditions: Shipping Policy and Refund Policy. For a question about your selected colour or cap, contact EVUNIA.